Cell extraction
Prerequisites
- A Single Cell Biopsy KIT is required for this workflow. Please refer to Cytoplasmic Biopsy Extraction for more details.
- Before starting this workflow the probe should be filled with mineral oil.
Procedure
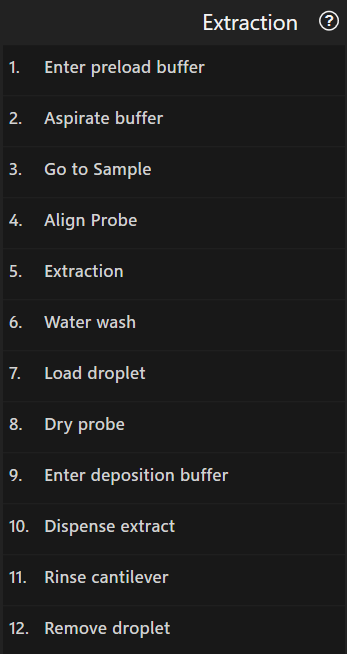
Extracts cytoplasmic contents from a cell and dispenses the extract into a droplet. Before extraction, the cantilever is pre-filled with buffer.
Enter preload/deposition buffer
In these steps the cantilever is guided into a droplet of buffer for preloading or to hold the extract.
Using the droplet
Droplet positions on the plate must be modeled as points. Select the point corresponding to the droplet’s position.
Because droplets evaporate quickly in the system, this step lets you access the system’s
loading ports by clicking Place a droplet, so a droplet can be
placed during this step.
When ready, use the arrow buttons or drag the stage to guide the cantilever’s tip over the droplet’s center.
To help finding the center of the droplet, a crosshair is automatically overlaid on the video feed.
The circle can be resized using the mouse wheel and moved around by clicking and dragging the resize
arrows  in the crosshair’s center or
by holding down
in the crosshair’s center or
by holding down Shift, then clicking and dragging anywhere inside the crosshair.
When satisfied press Approach to start approaching the droplet.
As entering the droplet is more reliable when the cantilever is positioned at an increased angle to
the droplet’s surface, the system performs a movement in Y direction before approaching the droplet.
The approach can be paused and resumed at any time to adjust the cantilever’s position.
Parameters
| Parameter | Description |
|---|---|
Preset for droplet targeting |
The preset that should be applied before targeting the droplet. Choose Current settings to keep the current settings. Use the preset tool to modify the presets. |
Preset for after entering droplet |
The preset that should be applied after entering the droplet. Choose Current settings to keep the current settings. Use the preset tool to modify the presets. |
Y Offset from droplet center |
The probe will be moved by this distance in Y direction before approaching starts |
Setpoint |
The probe deflection value at which the approach will be stopped |
Approach Speed |
How fast the probe approaches |
Aspirate buffer
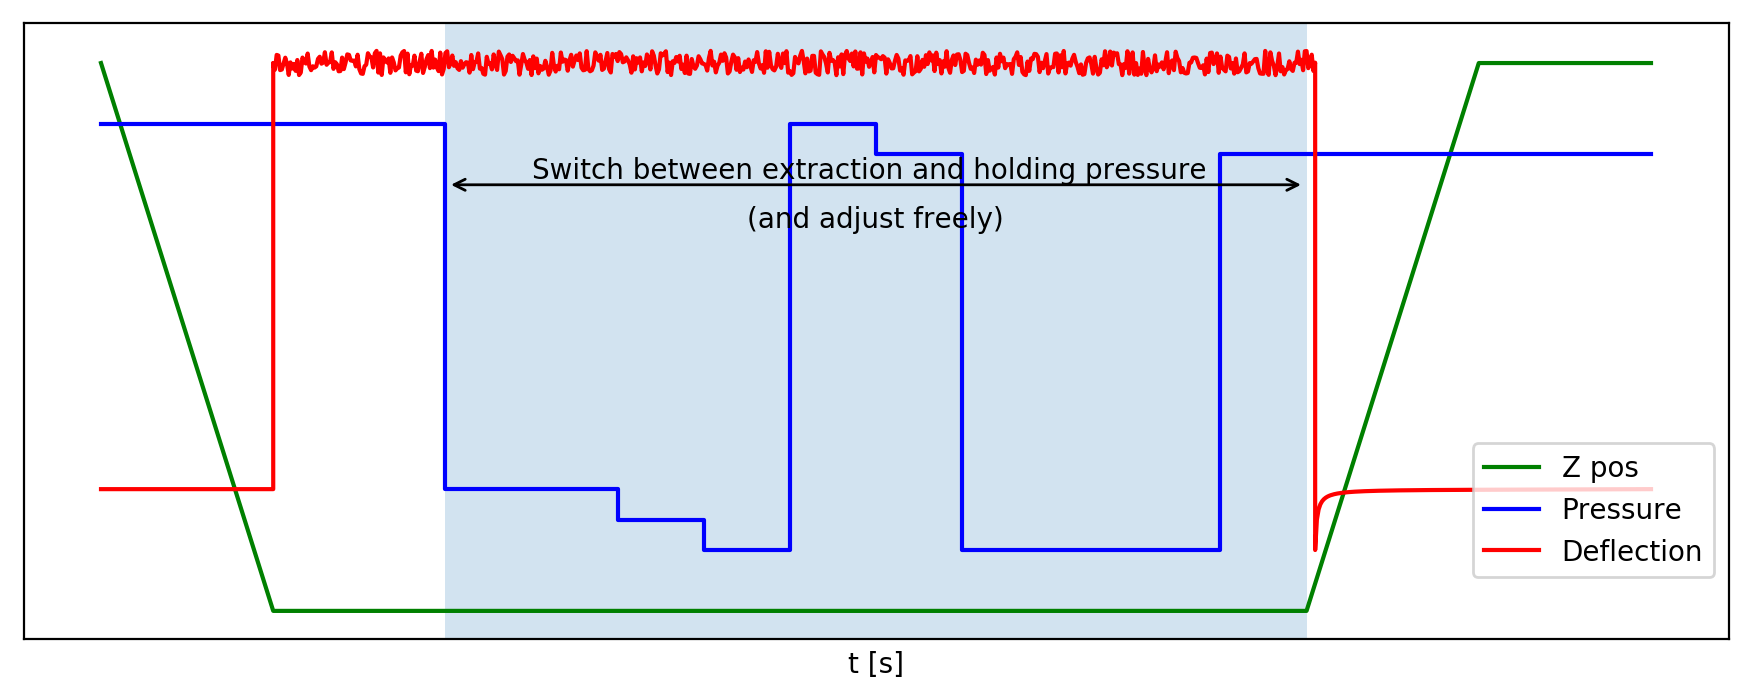
This step applies a specific pressure for the specified duration and then switch to holding
pressure. You can switch to holding pressure at any time and then repeat the whole process.
The + and - buttons increase or decrease the active
or holding pressure by the amount indicated on the button (in mbar).
For the duration of this step the video difference tool is displayed on the video view to support tracking the aspirated or dispensed volume.
Parameters
| Parameter | Description |
|---|---|
Aspiration pressure |
The pressure used to aspirate |
Aspiration pressure duration |
The duration during which the aspiration pressure is applied before switching to holding pressure |
Holding pressure |
The pressure applied at the end of the aspiration to hold the liquid in the cantilever. |
Go to Sample
Move the probe to the area that contains the samples. To do so, click a well to select it in the worktable view and optionally
choose a point created in a previously executed extraction step.
If no point is selected, the probe will be moved to either to the position where the well was clicked or the center of the well
according to the same conditions as in the navigation tool.
After moving to the well, it is still possible to select and move the probe to a different point until you confirm the position
by pressing the Continue button.
Parameters
| Parameter | Description |
|---|---|
Holding pressure |
Allows adjusting the pressure in small steps for the whole duration of this step. |
Align Probe
This step ensures that the aperture of the probe is properly aligned and the cell is pierced exactly at the point that you will select in the next step. For the most accurate result, you should switch to the objective that will be used in the extraction step and approach the surface at a location that is free of cells, then move the crosshair to the probe opening (as in align probe) and continue.
If the probe is already close to the surface, it is also possible to only perform the alignment without prior approach by
selecting the Align only option.
Parameters
| Parameter | Description |
|---|---|
Holding pressure |
Allows adjusting the pressure in small steps for the whole duration of this step. |
Approach Setpoint |
The probe deflection value at which the approach will be stopped. |
Additional retraction after aligning probe |
The distance by which to retract the probe after alignment (only when an approach was made). |
Extraction
This step approaches towards the surface at the position below the crosshair until the configured setpoint is reached and then keeps it by adjusting the z position.
When the probe is in contact, the system waits for you to focus the microscope on the probe so you can track the extracted volume. When you continue, the configured medium entry check pressure is applied so you can visually determine whether medium enters the cantilever and either cancel the step if necessary. When proceeding, the configured extraction pressure is applied for the configured duration or until you choose to change pressure to holding pressure. This phase works in the same way as the aspirate step, including display of the video difference tool.
Once you are satisfied with the extracted amount, choose Continue to keep the
holding pressure and retract the probe by a fixed distance.
Parameters
| Parameter | Description |
|---|---|
Setpoint |
The probe deflection value at which the approach will be stopped. |
Approach Speed |
How fast the probe approaches. |
Medium entry check pressure |
The pressure to apply once the probe is in contact with the cell for checking whether medium enters the cantilever. Can be adjusted during pressure application. |
Medium entry check pressure duration |
How long the Medium entry check pressure is applied before automatically switching back to the previous pressure. |
Extraction pressure |
The pressure to apply during actual extraction. Can be adjusted during pressure application. |
Extraction pressure duration |
How long the Extraction pressure is applied before automatically switching to Holding pressure. |
Holding pressure |
The pressure to apply when “holding” the extract inside the cantilever. Can be adjusted while probe is still in contact. |
Save an image |
Images can be saved before and after the approach to the cell, as well as after retracting. The “… unobstructed” options temporarily retract the probe to content height and move the cell to the side so it is not obstructed by the cantilever while recording an image. |
Point naming
If you enter a Point name and optionally a Group name, the point under the crosshair will
be saved and later shows up in the point view of the result history and point overlay
Localizing a previously biopsied cell
The dropdown next to Previous target lists previously biopsied cells. When an entry is selected, the Center location button
centers the last known position of the corresponding cell in the video view.
See subject tracking for more information about re-localizing a cell.
Water wash
Run a wash sequence after extraction. Choose a wash sequence from the provided list. To create and/or edit a wash sequence use the wash tool.
A warning ![]() is shown if the sequence is not applicable with the current plates.
is shown if the sequence is not applicable with the current plates.
Dry probe
This step removes the droplet of liquid clinging to the probe by approaching between two filter papers which absorb the liquid.
After selecting the location of the filter papers, the system moves to the center of that location. Due to limited placement accuracy of the filter papers you have to manually center the cantilever in the slot between the papers before starting to approach. Once the droplet touches the paper, it is absorbed, causing the deflection of the cantilever to change enough to trigger a stop. The system then lowers the probe some more and performs a lateral movement to both left and right in order to remove residual liquid from the probe.
Parameters
| Parameter | Description |
|---|---|
Setpoint |
The probe deflection value at which the approach will be stopped |
Approach Speed |
How fast the probe approaches |
Drop after reaching setpoint |
The probe will be lowered by this distance immediately after the approach |
Lateral movement distance |
The distance in X the probe moves both to the left and right after the drop |
Lateral movement speed |
The traveling speed of the above moves |
Preset to apply for drying |
The preset that should be applied for drying. Choose Current settings to keep the current settings. Use the preset tool to modify the presets. |
Warning
Choosing too large values for Drop after reaching setpoint and Lateral movement distance may cause a collision with the plate or even break off the probe.
Dispense extract
In this step you dispense the extract in the same way as in the aspirate buffer step.
Parameters
| Parameter | Description |
|---|---|
Dispensing pressure |
The pressure used to dispense |
Dispensing pressure duration |
The duration during which the dispensing pressure is applied before switching to holding pressure |
Holding pressure |
The pressure applied at the end of the aspiration to hold the liquid in the cantilever. |
Rinse cantilever
This step rinses the inside of the cantilever by applying (negative) aspiration pressure for a specified duration followed by (positive) dispensing pressure and finally switches to idle pressure. The handling is similar to aspirate buffer.